Create powerful designs that capture attention and drive conversion

Once your site is live, there are a few things you can do to encourage its growth and success. Don’t just leave it to languish all alone – instead, make regular tweaks, edits, and changes to keep your site fresh and relevant.

Here is how to start editing your
Xoopah website yourself:

  1. Select “Edit my Website” on your Customer Dashboard, to access Editorial Access for your website.
  2. Once you complete the steps, you will be redirected to the Editorial Console.
  3. On the top of that page, click on “Edit Page” option. You will then be redirected to the backend of that specific page.

    Note: In case, if you want to edit a page other than the Home page, just go to the page and follow thesame process to edit it.

  4. Now, you can edit content – update old information, add extra sections to old pages. Fresh content will not only keep your visitors happy, but it’ll also show Google that your site is relevant and active.

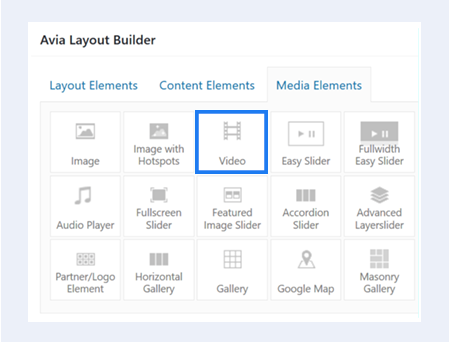
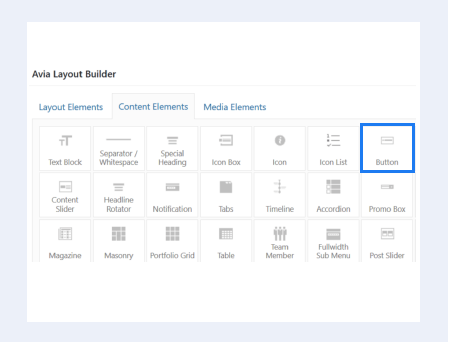
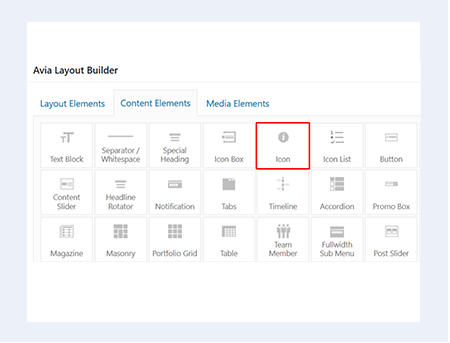
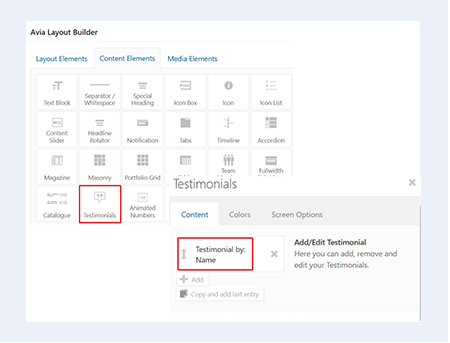
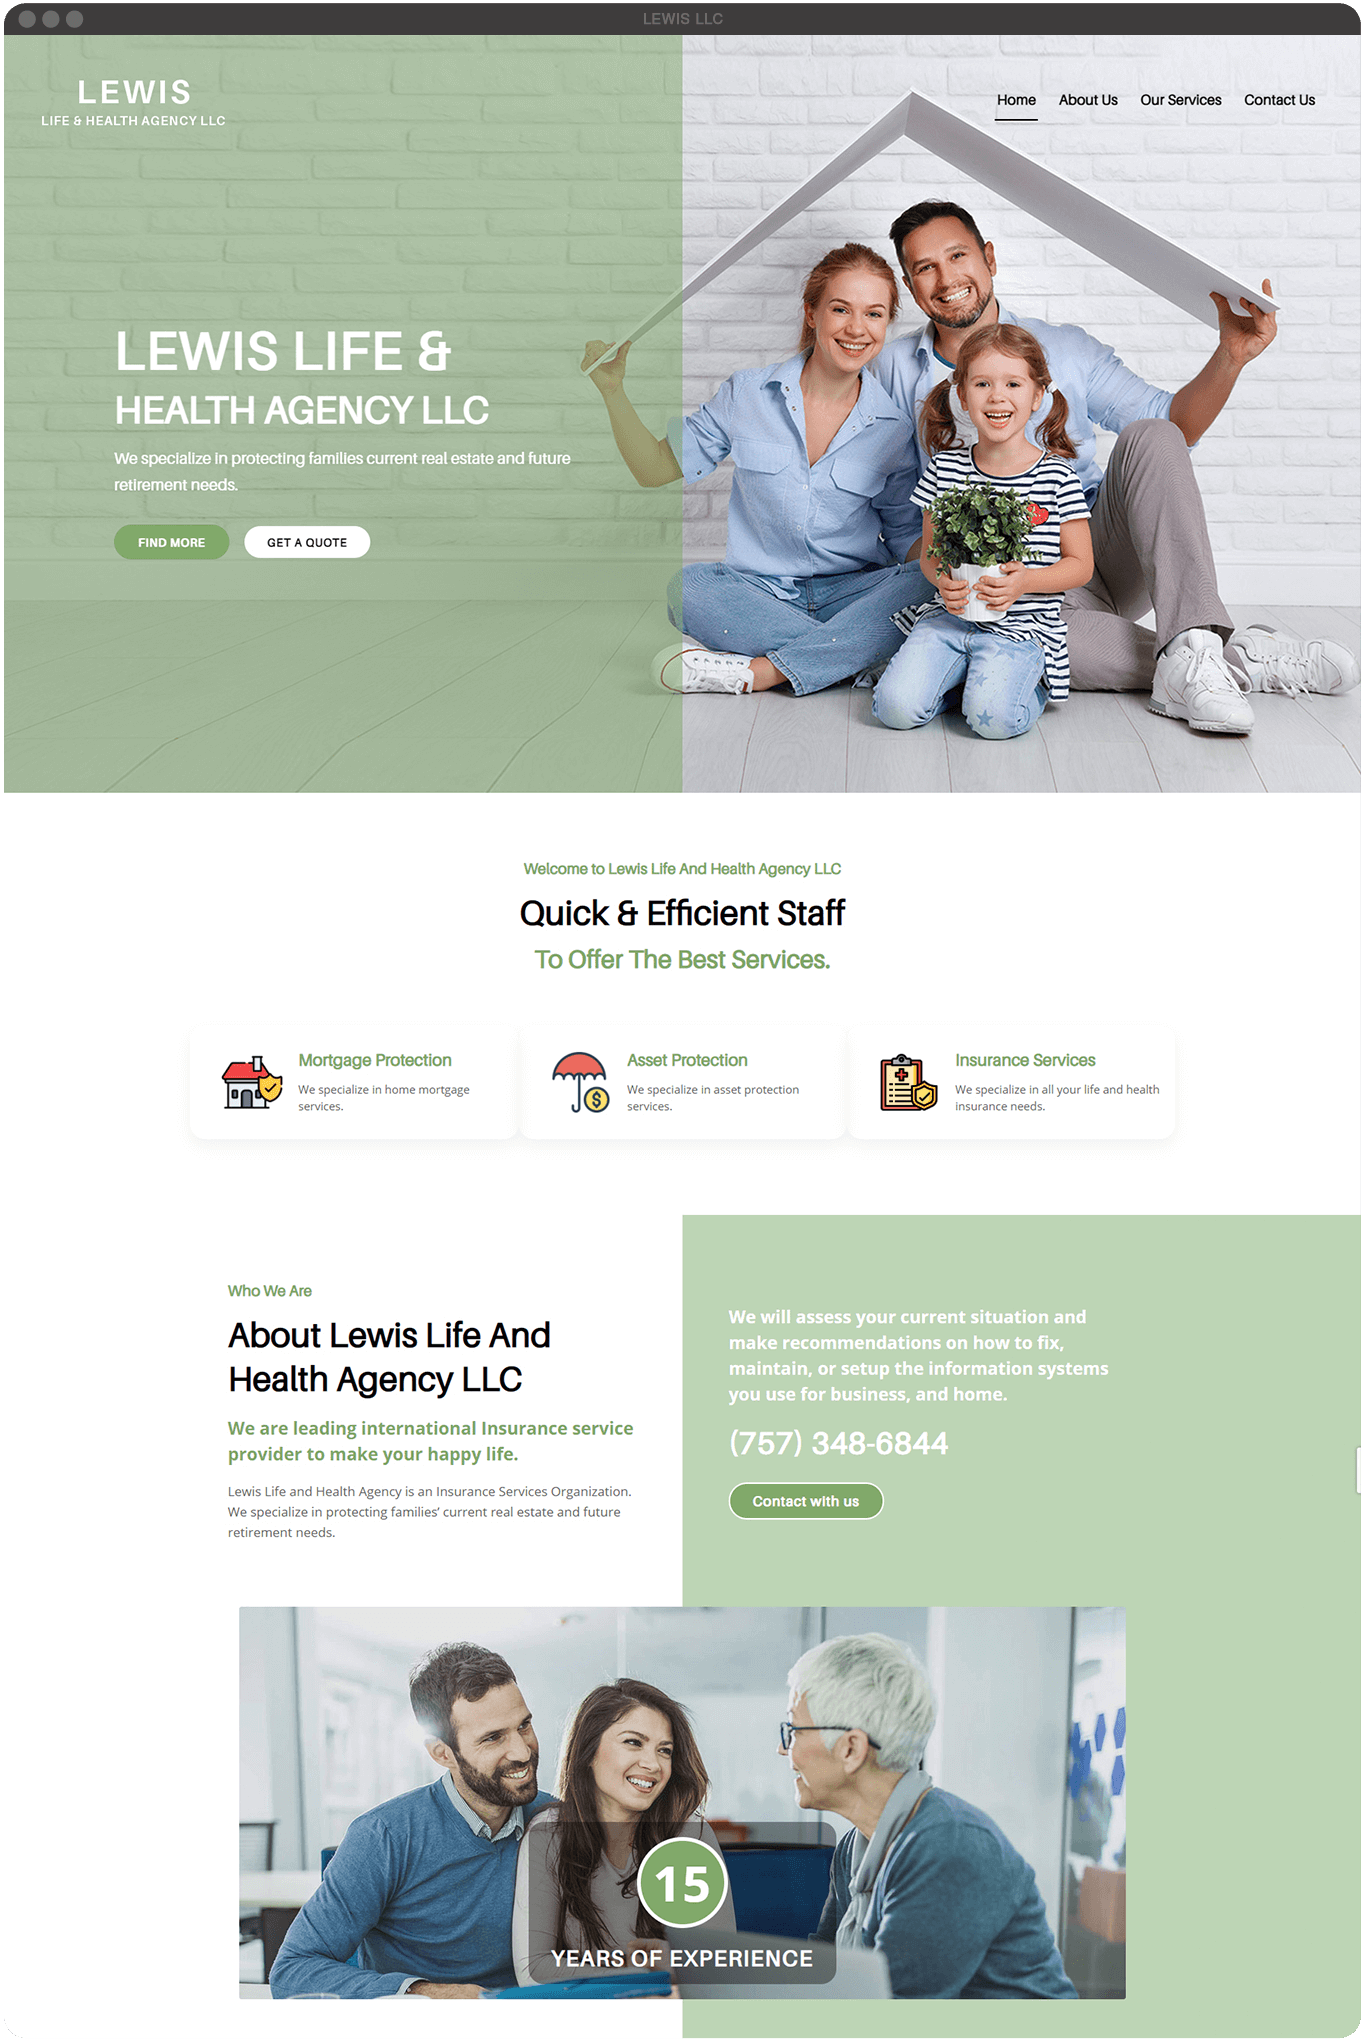
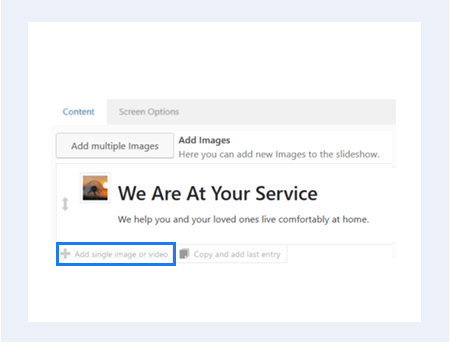
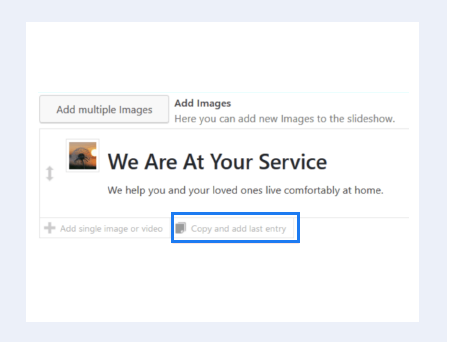
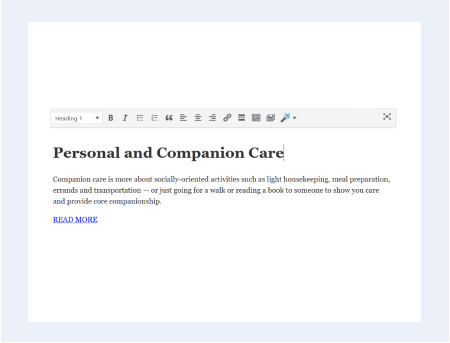
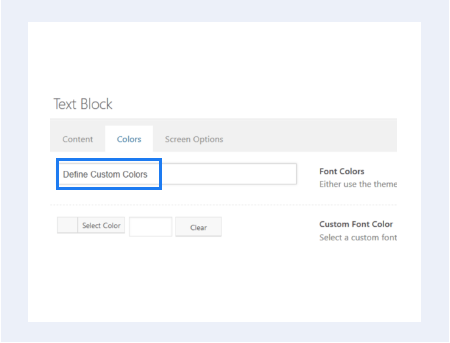
For a better understanding, we have explained each section separately, have a look:

  1. Click on the “Fullwidth Easy Slider.”
  2. On “Fullwidth Easy Slider” window, click on the image section (slider).
  3. On “Edit Form Element” window, click on “Change Image” button.
  4. Select and upload a new image from your device and save it.
  5. Now save changes on “Fullwidth Easy Slider.”
  6. Update your web page and preview the changes.

  1. Click on the “Fullwidth Easy Slider.”
  2. Click on the banner content.
  3. On the “Edit Form Element” window, go to the “Caption” tab.
  4. In the “Caption Text” box, edit your content and save the changes.
  5. Also, save changes to “Fullwidth Easy Slider.”
  6. Update your web page and preview the changes.
  7. Note: In case, if you want to edit a page other than the Home page, just go to the page and follow thesame process to edit it.


  1. Click on the “Fullwidth Easy Slider.”
  2. Click on the “Add Multiple Images” button.
  3. Upload a new image from your device or select an image from the media library.
  4. Click on the “Insert Images” button.
  5. Now scroll down to set autorotation and mark check on the box to use the same content on both the images of the banner.
  6. Now save changes on “Fullwidth Easy Slider.”
  7. Update your web page and preview the changes.

  1. Click on the “Fullwidth Easy Slider”
  2. Click on the “Add Single Image or Video” option and click on the image placeholder.
  3. On the “Edit Form Element” window, select the “Video Slide” using the first field.
  4. Now, you can upload the video, manage settings, and save.
  5. Now, save changes to Fullwidth Easy Slider.
  6. Update the web page & preview changes.

  1. Click on the “Fullwidth Easy Slider.”
  2. Click on the “Copy and add last entry.”
  3. Now, you can easily change the image.
  4. If you want, then content can also be changed. Just click on the content to edit it. When you are done, save the changes.
  5. Also, save changes to the “Fullwidth Easy Slider.”
  6. Update your web page and preview the changes.

  1. Click on the content section where you wish to make changes.
  2. You will see a “Text Block” window.
  3. Edit your content and save the changes.
  4. Update web page & preview the changes.

  1. Click on the content section where you wish to make changes.
  2. You will see a “Text Block” window.
  3. Go to the second tab that is “Colors”, next to the “Content” tab.
  4. Click on the “Font Colors” dropdown and select “Default Custom Colors.”
  5. Click on the color picker to choose the color you want.
  6. Save the changes. Update the web page & preview changes.

  1. Click on the image you want to change.
  2. You will see an “Image” window pop up.
  3. Click the “Insert Image” button.
  4. Select & upload an image from your device, then press “Insert.”
  5. After changing an image, you can manage its alignment, styling, and effects.
  6. Save the changes. Update the web page & preview changes.

  1. Go to the “Layout Elements.”
  2. Drag & drop the Color Section to an area where you need to add a new section.
  3. Now you can add the subsections, content, images, videos to this new section.
  4. Update web page & preview the changes.

  1. After adding New Section, go to the “Layout Elements.”
  2. Here, you can see a variety of grids ranging from 1/1 to 2/3 and more.
  3. Drag & drop a subsection that you desire to showcase in the new section.
  4. Now, you can add content, images, and videos within the subsection.
  5. After editing, update the web page & preview changes.

  1. Go to the “Content Elements.”
  2. Drag & drop a Text Block within the section where you want to add content.
  3. Now, click on the “Text Block” and add your content.
  4. You can set the content format by clicking on the editing area bar.
  5. Select the content and choose the format from the dropdown.
  6. Save the changes. Update the web page & preview changes.
  7. Additional Resources

  8. How to change the color of content (heading 7)

  1. Go to the “Media Elements.”
  2. Drag & drop an Image box to the section where you want to add an image.
  3. Now click on it and an image window will open.
  4. Upload a new file from your device or choose an existing file from the media library. Now click “Insert.”
  5. Now set the image alignment, styling, and effects and save the changes.
  6. Update the web page & preview changes.
  7. Additional Resources

  8. How to Change Existing Images (heading 8)
  1. Go to the “Media Elements.”
  2. Drag & drop a Video box to the section where you want to feature a video.
  3. Now, click on the box that you dragged and a video window will open.
  4. Either upload a new video from your device, choose an existing video from your media library, or copy & paste the URL of a video you want to add.
  5. Set the video format and loading mood.
  6. Save the changes. Update the web page & preview changes.

  1. Go to the “Content Elements.”
  2. Drag & drop a Button box where you need to embed it.
  3. Now click on the Button to customize it.
  4. A Button window will open where you can label and link the button.
  5. Set button’s size, position, and others.
  6. You can also change the color of the button by going to the “Color” tab.
  7. Save the changes. Update the web page & preview changes.

  1. Go to the “Content Elements.”
  2. Drag and drop the Icon box to the section where you want to add social media icons.
  3. Click on the icon box, you will see a number of icons that include social media icons too.
  4. Select the icon you want and change the color (if you want) by going to the next tab i.e. “Colors.”
  5. Save the changes. Update the web page & preview changes.

  1. Go to the “Content Elements.”
  2. Drag and drop the Testimonials box to the section where you want to feature it.
  3. Now click on it and a “Testimonial” window will open.
  4. You can easily add testimonials by clicking on the field saying “Testimonial by: Name”
  5. On “Edit Testimonial” window, you can insert a client’s image, name, subtitle, and review.
  6. Now save the “Edit Testimonial” window and start editing the testimonial section.
  7. You can also change testimonial’s content color by going to the “Colors” tab.
  8. Click on the “Font Colors” dropdown and select “Default Custom Colors.”
  9. Click on the color picker to choose the color you want.
  10. Save the changes. Update the web page & preview changes.

Use Xoopah and Create your
Digital Presence

img6
img2
img4
img8
img1
img3
img7
img5